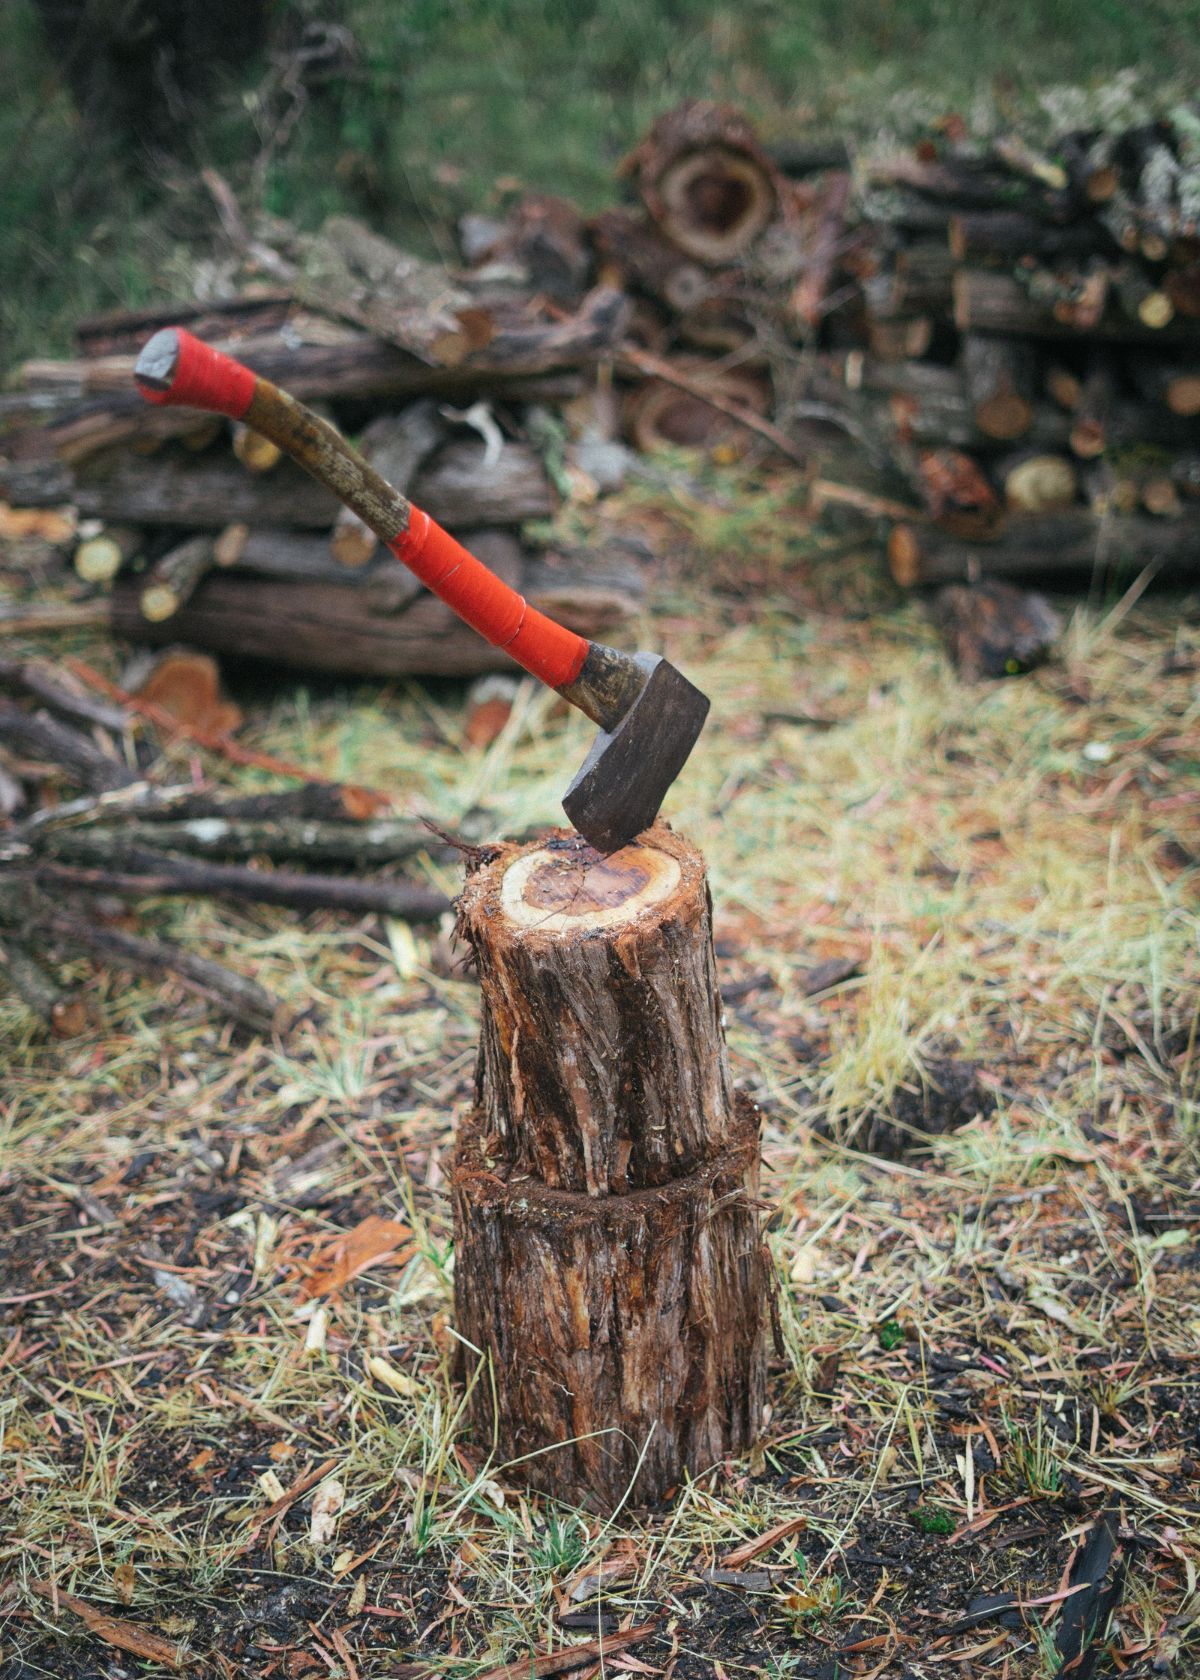
Imagine you're standing in a dense forest, surrounded by towering trees, with nothing but an axe in your hand. Your task is to chop down a large tree for firewood, but your axe is dull and ineffective.
Frustrated, you swing harder and harder, but the blade only chips away small pieces of wood, and you're left feeling exhausted and defeated.
If this scenario sounds familiar, fear not! Sharpening an axe is a simple process that can make a world of difference in its performance. A sharp axe not only makes chopping easier, but it's also safer to use since a dull blade can slip and cause injury.
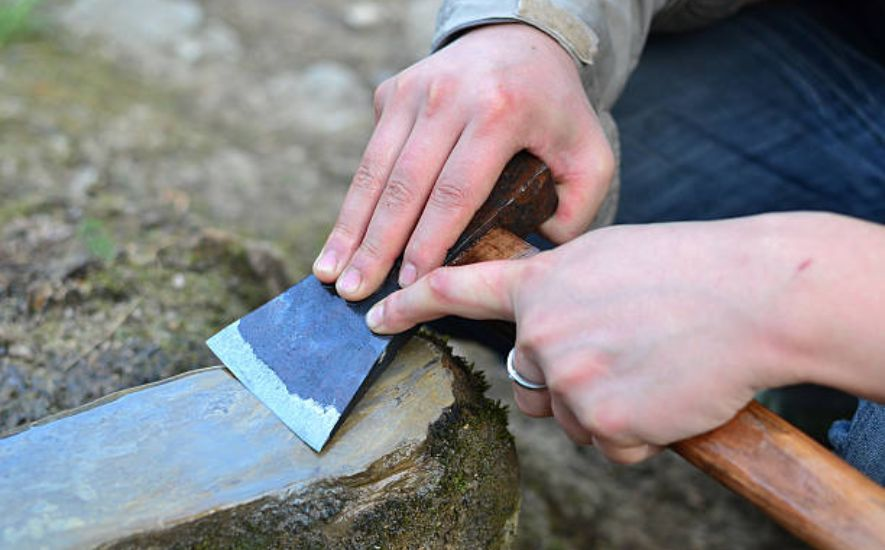
Sharpening an own axe might seem like a daunting task, but with a bit of practice, anyone can master it. In this guide, we'll take you step-by-step through the process of sharpening an axe, from choosing the right tools to honing the blade to perfection.
With these techniques, you'll be able to restore your axe to its former glory and tackle any chopping task with ease. So, let's get started!

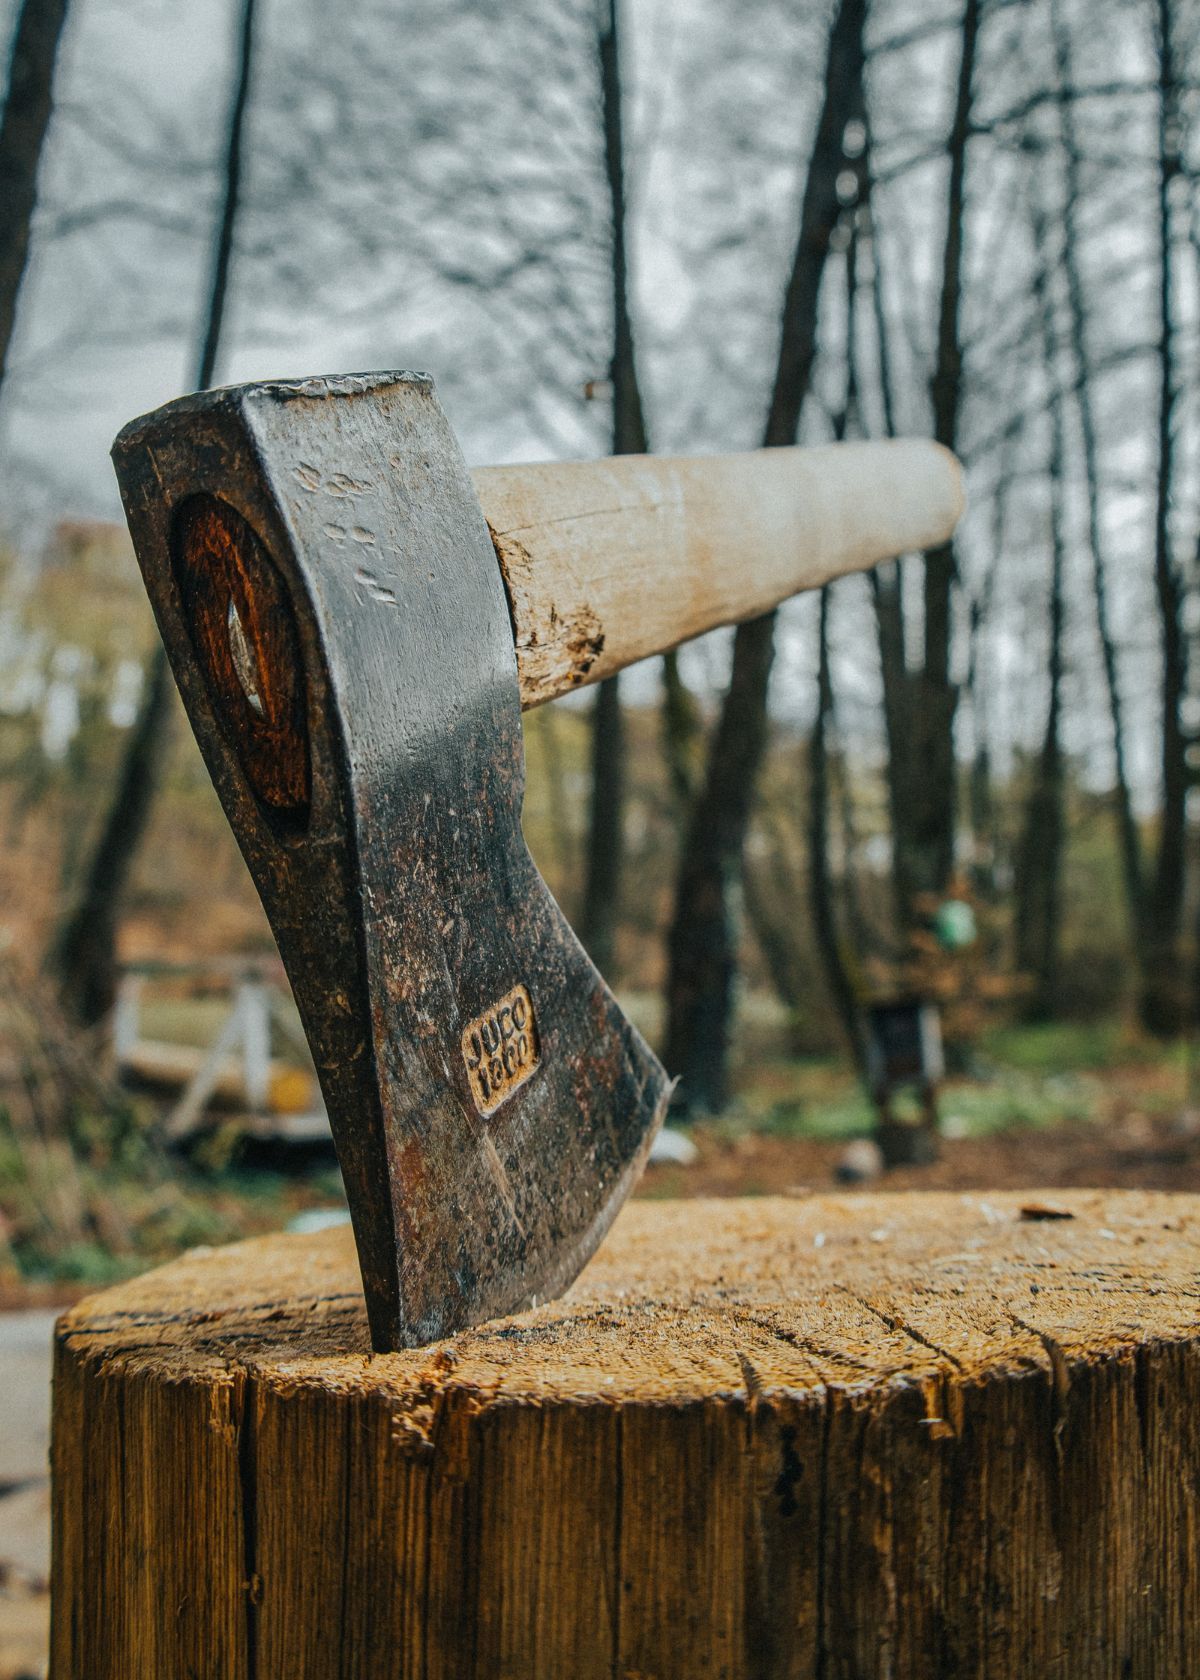
The Traditional Method to Sharpen an Axe
In today's world, we often rely on modern technology to complete even the simplest of tasks. However, some things can still be done the old-fashioned way, such as sharpening an axe.
The traditional method of sharpening an axe has been around for centuries and passed down through generations. While it may take a bit more effort and time than using an electric grinder, the end result is a razor-sharp cutting edge that is worth the effort.
Tools Required
You will need a few essential tools to sharpen an axe using the traditional method. These include a sharpening stone, a honing oil, a flat mill file, and a strop.
The sharpening stones are used to remove any nicks or dullness from the blade, while the honing oil helps to lubricate the stone and prevent it from clogging.
The flat file is used to shape the blade and remove any burrs that may be present. Finally, the strop is used to polish and hone the blade to a razor-sharp axe edge.
Steps Involved
The first step in sharpening an axe using the traditional method is to secure the axe head in a vice or clamp. This will prevent it from moving around while you are sharpening it. Next, apply a few drops of honing oil to the sharpening stone and begin to work on the blade.
Use a circular motion and make sure to keep the blade at the same angle as the original bevel. Once you have removed any nicks or dullness, switch to the flat file and use it to shape the blade and remove any burrs. Finally, use the strop to polish and hone the blade to a razor-sharp edge.
Benefits of the Traditional Method
One of the biggest benefits of the traditional method of sharpening an axe is that it allows you to control the angle and shape of the blade. This ensures that you get the exact blade edge you want, which is often impossible with an electric grinder.
Additionally, the traditional method is much quieter and less messy than using an electric grinder, which can create sparks and throw debris everywhere.
Finally, sharpening an axe using the traditional method is a great way to connect with the past and learn a valuable skill that has been passed down through generations.
The Belt Sander Technique to Sharpen an Axe
Have you ever tried to chop wood with a dull axe? If so, you know how frustrating and time-consuming the task can be.
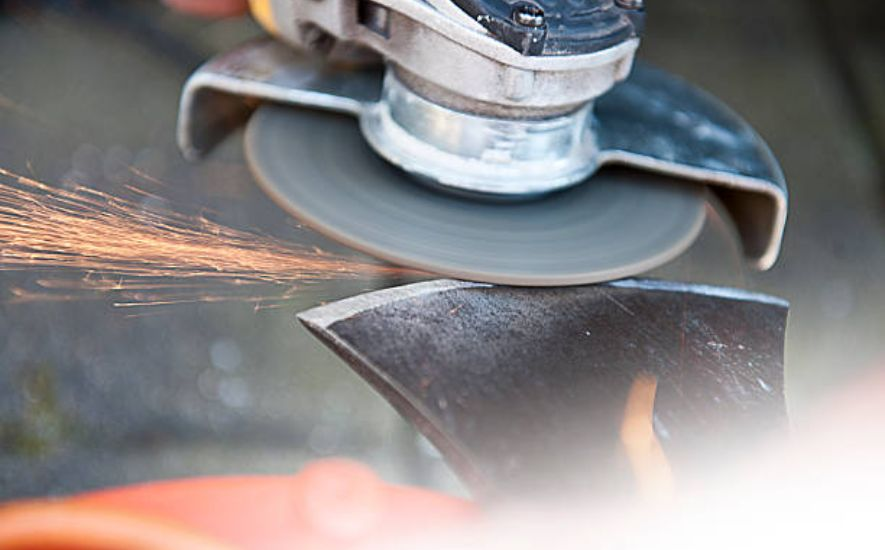
On the other hand, a sharp axe can make quick work of any wood-cutting project. While there are many methods for sharpening an axe, one of the most effective and efficient techniques is using a belt sander.
Benefits of the Belt Sander Technique
The belt sander technique offers several advantages over other sharpening methods. First and foremost, it is swift and efficient. Using a belt sander, you can quickly remove a significant amount of material from the blade, resulting in a sharp edge in just a few minutes.
Additionally, the belt sander can be adjusted to different grits, allowing you to achieve a smooth, polished, convex edge ideal for chopping wood. Finally, the belt sander technique is relatively easy to learn, even for those who have never sharpened an axe.
Step-by-Step Instructions
To sharpen an axe using a belt sander, you will need a few basic tools and materials, including a belt sander, a bench vise, a honing guide, and sandpaper belts of various finer grit stones (ranging from 80 to 220). Here are the steps to follow:
- Secure the axe in the bench vise, ensuring it is stable and immobile.
- Using the honing guide, set the angle for the bevel of the axe blade. A typical angle is around 25 degrees, but this may vary depending on the type of axe you are sharpening.
- Begin with a coarse sandpaper belt (around 80 grit) and run the blade across the belt, keeping the honing guide at a consistent angle. Repeat this process several times until you have removed any nicks or chips in the blade and established a consistent bevel.
- Move up to a finer sandpaper belt (around 120 grit) and repeat the same process until you have achieved a smooth, even edge on the blade.
- Finally, use a very fine sandpaper belt (around 220 grit) to polish the blade's edge, removing any remaining burrs or rough spots.
Tips for Achieving the Best Results
While the belt sander technique is relatively straightforward, there are a few tips that can help you achieve the best possible results:
- Always wear eye protection and a dust mask when using a belt sander, as the process can create a lot of dust and debris.
- Keep the blade cool while sharpening, as excessive heat can damage the temper of the steel.
- Use light pressure when running the blade across the sandpaper belt, as too much pressure can result in an uneven edge.
- Take your time and be patient. Sharpening an axe using a belt sander is a process that requires attention to detail and a steady hand.

The Angle Grinder Method to Sharpen an Axe
As a tool with a multitude of uses, an axe is an indispensable part of any outdoor enthusiast's toolkit. From chopping wood for a campfire to clearing a path through the wilderness, a sharp axe is essential for quickly completing even the toughest tasks.
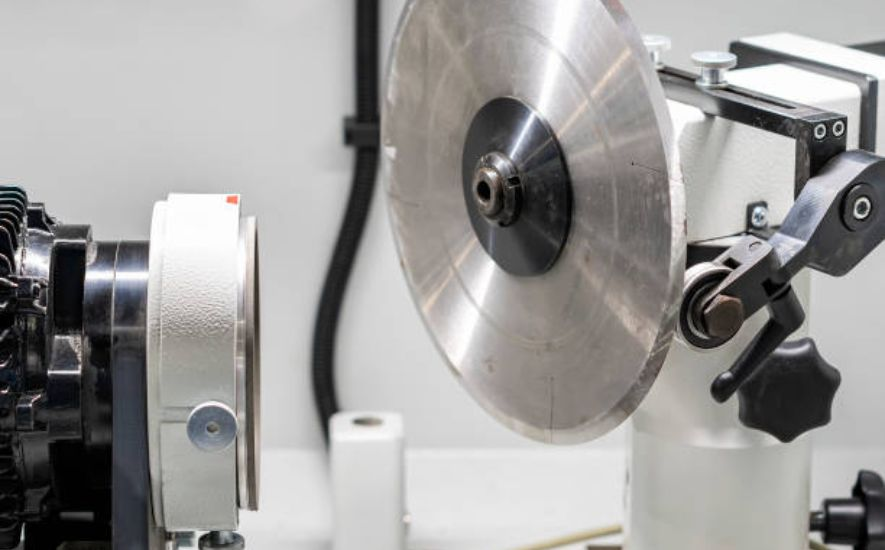
However, like all tools, an axe can become dull over time and lose its edge. Enter the Angle Grinder Method, a technique that has become popular among outdoors and DIY enthusiasts.
Benefits of the Angle Grinder Method
The Angle Grinder Method offers several benefits over traditional sharpening techniques. First and foremost, it is a much faster process. While traditional sharpening methods can take hours or even days, the Angle Grinder Method can sharpen an axe in as little as 15 minutes.
Additionally, the Angle Grinder Method produces a much sharper edge than traditional methods, making your axe more effective and efficient in its cutting ability.
Tools Required
To use the Angle Grinder Method, you will need a few key tools. The most important tool is, of course, an angle grinder. You will also need a pair of safety glasses and a pair of heavy-duty gloves to protect your hands and eyes from sparks and debris.
Finally, you will need a file to smooth out any rough edges after completing the grinding wheel process.
Steps Involved
The first step in the Angle Grinder Method is to secure your axe in a vice or clamp. This will prevent the axe from moving while you are sharpening it. Next, put on your safety glasses and heavy-duty gloves. Turn on the angle grinder and begin grinding the edge of the axe. Be sure to maintain a consistent angle as you work, typically around 25-30 degrees.
You will want to grind away any nicks or chips in the blade until it is smooth and even. Once you are satisfied with the edge, use the file to smooth out any rough spots or burrs. Finally, remove the axe from the vice or clamp and test it on a piece of wood to ensure it is sharp and ready to use.
Frequently Asked Questions (FAQs)
With the right tools and techniques, you can easily sharpen your axe and make it as good as new. In this guide, we will answer frequently asked questions about sharpening an axe.
Should an axe be razor-sharp?
An axe does not necessarily need to be razor-sharp, but it should be sharp enough to cut through the materials it is designed to handle effectively.
A too-dull axe will require more force, making it harder to control and more tiring to use. It may also cause the user to compensate with unsafe or inefficient cutting techniques, increasing the risk of accidents.
However, a too-sharp axe may also pose a safety risk, as it may be more likely to cause accidental cuts or injuries if mishandled.
In general, a good rule of thumb is to sharpen an axe to a level that allows it to cut efficiently without being overly dangerous. This may vary depending on the type of axe and the specific intended use. It's important to follow the manufacturer's recommendations and use appropriate sharpening tools and techniques.
How do you clean and sharpen an axe head?
Cleaning and sharpening an axe head is essential to keep it in good condition for use. Here's a step-by-step guide to help you clean and sharpen your axe head:
Cleaning the Axe Head:
- Begin by removing any dirt or debris from the axe head using a stiff-bristled brush or a dry cloth.
- If there is any rust on the axe head, you can remove it using steel wool or sandpaper. Make sure to wear gloves to protect your hands from sharp edges.
- Soak the axe head in white vinegar for tougher rust or stains for a few hours or overnight. This will help loosen the rust and make it easier to remove.
- After removing the rust, rinse the axe head with water and dry it thoroughly with a cloth.
- Apply a light coat of oil to the axe head to prevent it from rusting again.
Sharpening the Axe Head:
- Secure the axe head in a vice or clamp to keep it steady while you work on it.
- Use a file to sharpen the edge of the axe. Start at the base of the blade and work your way toward the tip, using long, smooth strokes in a downward direction.
- Be sure to maintain the same angle on both sides of the blade. This will help ensure a sharp, even edge.
- After sharpening, remove any burrs or rough spots by running a fine stone or a coarse sharpening stone along the blade's edge.
- Finally, remove any metal shavings and debris from the blade, and apply a light coat of oil to prevent rust.
What is the correct angle for sharpening an axe?
The correct angle for sharpening an axe will depend on the type of axe and its intended use.
For a splitting axe, which is designed to split logs or wood, the optimal angle is typically around 20 to 25 degrees. This wider angle allows the blade to create a wedge shape that can effectively split wood.
For a felling axe designed to cut down trees, the optimal angle is typically around 25 to 30 degrees. This angle provides a sharper edge that can easily be cut through wood fibers.
It's important to note that these are general guidelines. The exact angle will depend on factors such as the hardness of the wood being cut, the condition of the axe blade, and the user's preferences.
It's always a good idea to consult the manufacturer's instructions or seek advice from a professional if you're unsure about the correct angle for your specific axe.
Conclusion
In conclusion, sharpening an axe is a skill that is essential for anyone who intends to use an axe for chopping or cutting. Sharpening an axe involves several steps, including cleaning the axe, grinding the edge, honing the blade, and polishing the axe.
It is important to note that sharpening an axe requires the right tools and techniques to achieve a sharp and durable edge. With regular maintenance and proper care, an axe can last for many years and provide efficient service.
Sharpening an axe is not only a practical skill but also a satisfying one, and with practice, anyone can master the art of axe sharpening.
