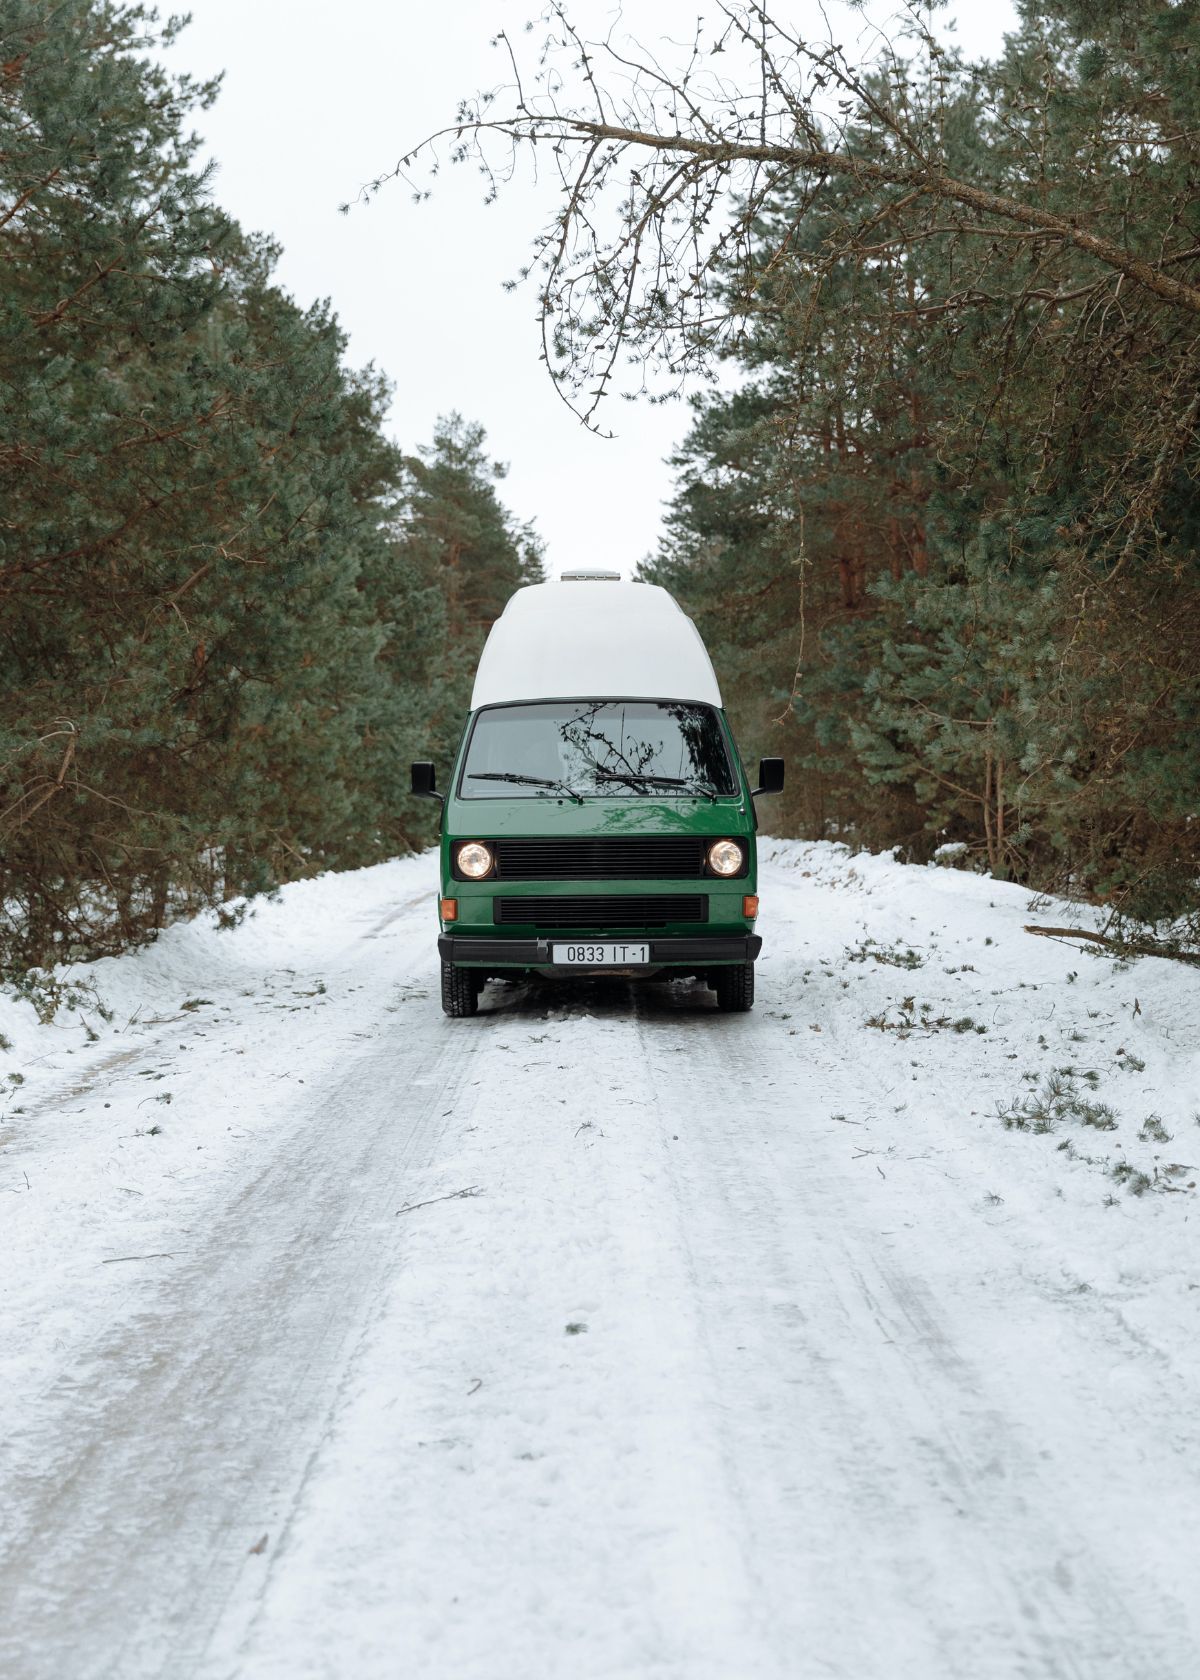
Winterizing your camper is an important step in preparing it for storage during the colder months. This process involves taking specific measures to protect the camper from harsh weather conditions, such as freezing temperatures and snow.
Without proper winterization, you risk damage to your camper's pipes, water system, and other components. In this article, we'll provide you with step-by-step instructions on how to winterize your camper, so you can ensure that it is ready for use when the warm weather returns.
We'll cover everything from draining the water system to protecting the tires so that your camper is protected from top to bottom. By taking these steps, you'll be able to extend the life of your camper and enjoy it for many seasons to come.

Why Do You Need to Winterize Your Camper?
Winterizing a camper involves protecting the RV from cold weather and freezing temperatures to prevent damage to the water system and other vital components.
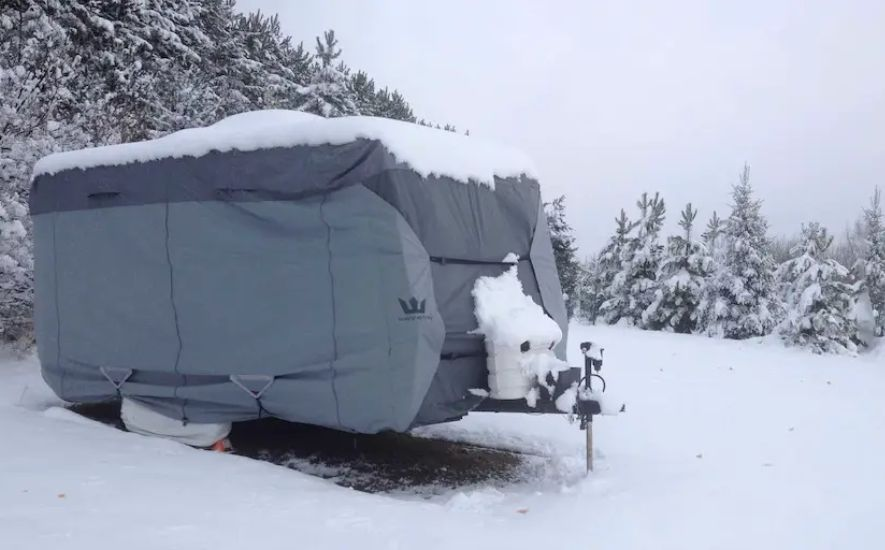
This process is important for those who plan to store their camper during winter or those living in areas with harsh winter conditions.
Prevent Freezing and Bursting Pipes
One of the most significant benefits of winterizing your camper is to prevent the pipes from freezing and bursting.
When water freezes, it expands and can cause serious damage to the plumbing system. By winterizing the camper, you can avoid costly repairs and ensure that your camper is ready for use in the spring.
Preserve Water System
Winterizing your camper also helps preserve the water system by removing all the water from the pipes, faucets, and freshwater tank.
This helps to prevent the growth of bacteria and other harmful organisms that can cause damage and affect the taste and quality of the water.
Protect against Water Damage
In addition to preserving the water system, winterizing your camper also helps to protect against water damage.
If water is left in the pipes, it can freeze and cause the pipes to burst, leading to water damage inside the camper. By winterizing the camper, you can avoid water damage and keep your RV in good condition.
Prepare for Storage
Winterizing your camper is also important if you plan to store it during winter. By preparing the RV for storage, you can protect it from the elements and ensure it is ready to use when needed.

How Much Does It Cost to Winterize a Camper RV?
Winterizing a camper RV is an important process that involves protecting the water system from freeze damage during the winter months. This helps to avoid costly repairs and prolong the life of your RV.
Factors Affecting Cost:
- Size of the RV: The cost of winterizing an RV will depend on the size of the vehicle. Larger RVs will generally cost more to winterize than smaller ones.
- Type of RV: The cost of winterizing an RV will also depend on your RV type. Travel trailers, fifth wheels, and motorhomes will all have different winterizing requirements and costs.
- Location: The location where you live will also affect the cost of winterizing your RV. In some areas, the cost of labor and materials may be higher, which will drive up the overall cost.
- DIY or Professional Winterizing: You can either choose to winterize your RV yourself or hire a professional. Doing it yourself will obviously be less expensive, but hiring a professional will ensure that the job is done properly and avoid any potential damage to your RV.
Cost of Professional Winterizing
The cost of professional winterizing can vary widely depending on the factors mentioned above. On average, the cost of professional winterizing can range from $200 to $500.
Cost of DIY Winterizing
The cost of DIY winterizing will depend on the materials you need to purchase. These materials can include pump antifreeze, an air compressor, a blow-out plug, and a water pump converter kit. The average cost of these materials is around $50 to $100.
What Tools Do You Need to Winterize Your Travel Trailer RV?
Winterizing a travel trailer RV is an important task to ensure its longevity and to prevent damage from cold weather conditions.
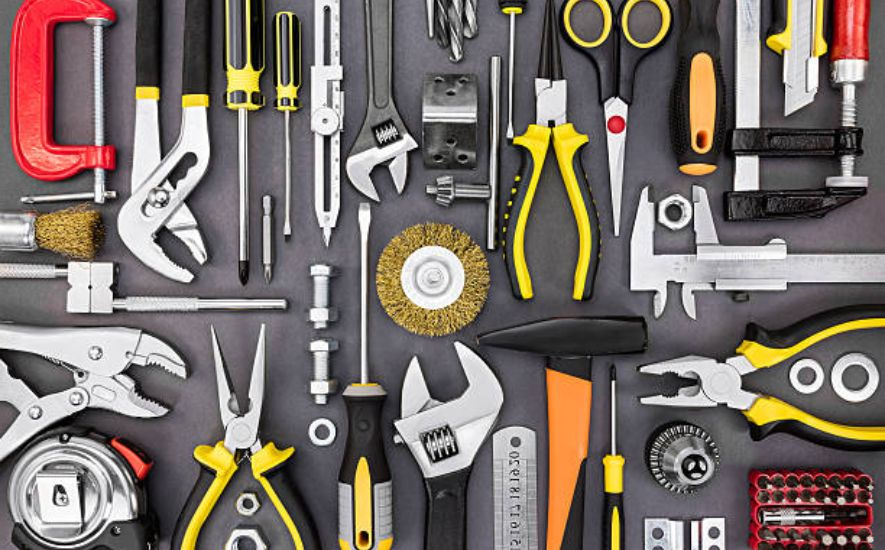
This guide outlines the essential tools you will need to winterize your RV.
- Antifreeze
- Air compressor
- Drill and drill bits
- Garden hose and adapter
- RV Winterizing kit
- Scissors or knife
- PVC pipes and fittings
Antifreeze: Antifreeze is the most important component of winterizing your travel trailer RV. It is used to prevent water pipes and fixtures from freezing and cracking. Make sure to choose the correct type of antifreeze for your RV.
Air compressor: An air compressor is used to blow out your RV's water lines and fixtures. This will remove any residual water and prevent it from freezing.
Drill and drill bits: A drill and drill bits are required to remove the water drain plugs from your RV's water system. This will allow you to drain the water and add antifreeze to the system.
Garden hose and adapter: A garden hose and adapter are needed to connect the air compressor to your RV's water system.
RV Winterizing kit: An RV winterizing kit contains all the necessary tools and fittings to winterize your RV. This includes a pump, hose, antifreeze, and other essentials.
Scissors or knife: A scissors or knife is required to cut the antifreeze hose to the correct length.
PVC pipes and fittings: PVC pipes and fittings are used to connect the antifreeze hose to your RV's water system. They are needed to ensure a tight and secure connection.
How To Winterize Your Camper
A camper is an excellent mode of transportation and accommodation for outdoor enthusiasts. It provides comfort and convenience while enjoying the beauty of nature. However, one must prepare the camper properly to make the most of the camping experience.
Inspection
- Inspect the camper thoroughly before each trip.
- Check for any signs of wear and tear, leaks, or damage.
- Make necessary repairs or replacements to ensure the camper is in good working condition.
Cleaning
- Clean the camper's interior and exterior to maintain hygiene and appearance.
- Use appropriate cleaning products and tools for different surfaces.
- Pay special attention to the kitchen, bathroom, and sleeping areas.
Stocking Supplies
- Stock the camper with essential items such as food, water, utensils, and bedding.
- Ensure that you have enough supplies for the duration of the trip.
- Pack items in an organized manner to save space and make them easily accessible.
Maintenance
- Check the tire's air pressure and condition.
- Ensure that all systems, such as the electrical, plumbing, and heating, are in good working order.
- Perform routine maintenance tasks to keep the camper in top condition.
Safety Measures
- Install smoke detectors and fire extinguishers in the camper.
- Check the battery, brakes, and lights before each trip.
- Make sure that the camper is equipped with the necessary safety equipment, such as a first-aid kit and communication devices.
Draining the System
Camper systems can become clogged with debris over time, causing a buildup of stagnant water. Regular maintenance of the system is crucial for keeping it in good working condition. Draining the system is an essential step in maintaining your camper's health.
Materials Needed:
- Camper water pump
- Hose
- Drain valve
- Anode rod
- Bucket
Steps:
- Turn off the water pump: Locate the water pump in your camper and turn it off. This will prevent water from flowing into the system while you're draining it.
- Locate the drain valve: The drain valve is usually located near the bottom of your camper and is used to release water from the system.
- Connect the hose: Attach one end of the hose to the drain valve and the other end to a nearby drain or bucket.
- Open the drain valve: Turn the valve handle to open it and allow the water to flow out of the system and into the hose.
- Empty the bucket: If you are using a bucket to catch the draining water, periodically empty it.
- Close the drain valve: Once the water has stopped flowing out of the system, close the drain valve by turning the handle.
- Turn on the water pump: Turn the water pump back on to ensure that it's working properly.
Protecting the Plumbing System
The plumbing system of a camper is an essential part of the vehicle that needs proper care and maintenance to keep it functioning correctly.
A well-maintained plumbing system will provide a reliable and consistent water supply, prevent leaks and other issues, and extend the lifespan of the camper.
Proper Drainage
Ensuring proper drainage is critical to prevent water damage and leaks in the plumbing system.
Regularly check and clean the drain valves and ensure they are in good working condition. Also, avoid putting any foreign objects in the sinks, toilets, or showers to prevent clogging the drain pipes.
Winterizing the Plumbing System
Winter can be harsh on the plumbing system of a camper, with freezing temperatures potentially causing pipes to burst.
To protect the plumbing system during winter storage, it is essential to winterize the camper by draining all the water and adding anti-freeze to the pipes.
Regular Maintenance
Routine maintenance of the plumbing system is crucial to keep it functioning correctly. Check the hoses, pipes, and fittings regularly for any signs of wear or damage, and replace them if necessary.
Also, ensure the water pressure regulator works properly to prevent damage to the pipes from high water pressure.
Proper Use of Chemicals
Chemicals such as cleaning agents, disinfectants, and drain cleaners can be harmful to the plumbing system if not used properly.
Always follow the manufacturer's instructions when using chemicals, and never mix different chemicals together. Consider using environmentally friendly cleaning products to protect the plumbing system and the environment.
Avoiding Backflow
Backflow can occur when water flows back into the plumbing system, potentially contaminating the water supply.
To prevent backflow, ensure the plumbing system's check valves are functioning properly and replace them if necessary.
Storing the Camper
A camper is a type of recreational vehicle (RV) that is used for camping and traveling. Campers come in various shapes, sizes, and designs.
To ensure the camper stays in good condition, it's important to store it properly.
Location
When choosing a storage location, consider the following:
- Accessibility: Choose a location that is easily accessible, especially if you plan to use the camper frequently.
- Climate control: If you live in an area with extreme temperatures, consider a storage facility that offers climate control to protect the camper from damage.
- Security: Select a secure location with adequate measures to prevent theft or damage to the camper.
Preparation
Before storing the camper, it's important to prepare it properly. Here are some steps to follow:
- Cleaning: Clean the camper's inside and outside thoroughly to prevent mold and mildew buildup.
- Maintenance: Conduct any necessary maintenance on the camper, such as checking the tire pressure and battery.
- Winterizing: If you plan to store the camper for an extended period of time during the winter, consider winterizing it to prevent damage from cold weather.
Storage
Once the camper is prepared, it's time to store it. Consider the following tips:
- Level the camper: Make sure the camper is level to prevent damage to the suspension and tires.
- Cover the camper: Use a cover to protect the camper from dust, debris, and elements.
- Disconnect utilities: Disconnect the utilities, such as the water and electrical hookups, to prevent damage to the connections.
How to Winterize a Camper FAQs
When it comes to camping, there is no one-size-fits-all setup. While some people like to get away from it all and camp in the wilderness, others prefer to stay close to amenities and have a more luxurious experience.
Campers have come a long way since their early beginnings, and many different types of campers are available for purchase or rent. Here are some frequently asked questions about winterizing your camper:
How do you winterize a camper for beginners?
The first step is to drain all of the water from the system. This can be done by opening up the drain plug at the bottom of your hot water tank and letting as much water out as possible.
Next, fill up your fresh water tank with fresh water and add an RV antifreeze solution to prevent damage caused by freezing water pipes. Finally, turn off propane and electricity.
Can I winterize my camper myself?
Yes, you can do it yourself. However, if you have never done it before or if you are unsure about what to do, your best bet would be to consult an expert such as your mechanic or auto parts store employee.
Winterizing is not as difficult as it sounds, and with help from one of these professionals, you can easily get through the entire process.
What do you use for winterizing a camper?
There are many tools and products available for this purpose. The best way to do it is by using propane heaters or water heater heating element that run on electricity so that you don’t have to worry about gas leaks or cords being damaged during the winter months.
You should also eliminate any excess moisture in your vehicle by running dehumidifiers and insulating any areas where water could seep in from outside sources, such as rain or snowfall.
This will help prevent mold growth and other problems associated with cold temperatures while protecting your belongings from possible damage due to freezing temperatures outside!
Is it hard to winterize a camper?
No, it's actually quite easy. All you need to do is low point drains the water out of the plumbing system, disconnect any electricity going into the camper and disconnect any propane tanks. Then you just need to park your camper somewhere safe for the winter months.
What happens if you don't winterize a camper?
If you don't properly winterize your camper, there are many consequences that could result from leaving your RV exposed to freezing temperatures for months at a time.
For starters, not properly draining and flushing out the water lines can cause them to freeze, which could cause them to burst when spring rolls around again.
You also want to ensure that all appliances are unplugged from the power source so that they don't eat up electricity while sitting idle for months at a time.
Can you sleep in a winterized camper?
Yes, you can sleep in your camper during the winter months. You may not want to, as it will be cold outside, but if you plan on using your camper regularly in the winter months.
It's important that you know how to winterize it properly so that you don't end up with frozen pipes or other issues.
How Long Does It Take To Winterize My Camper?
The time it takes to winterize your camper depends on how complex your setup is and how many steps are involved in the process.
If you have a simple setup with only one or two steps involved, then it should only take about an hour of work from start to finish.
If there are more steps involved or if your setup is more complicated than most people's, it could take several hours for all of the steps to be completed successfully before you're ready for use again next spring or summer!
Conclusion
If you follow these simple steps, winterizing your camper should be a breeze. It's something that needs to be done in preparation for the cold weather and excessive moisture that accompanies it, so remember to get it done well before it hits.
Your camper doesn't have to be used strictly during the summer months; winterizing your camper can extend its usability by months and make it easier to start up again next season.
In the end, winterizing a camper van takes a lot of work, but it's worth it to be able to enjoy the coming months without worrying about your vehicle as much. After all, who wants to spend their time in an unnecessarily uncomfortable space?
The good news is that you can fully appreciate the winter once you've gone through the process. With some preparation, you'll be out there enjoying life in no time.


