
How to glitter a stainless steel wine glass tumbler? Learn more in this blog!
Glittering a stainless steel wine glass tumbler is a fun and easy DIY project that can add personality to your drinkware collection or make for a personalized gift. In this article, we will take you through the step-by-step process to learn how to glitter a stainless steel wine glass tumbler and provide tips and tricks to make your life and the project even easier.
 Ali
Ali
Materials Needed
Want to know how to glitter a stainless steel wine glass tumbler? Well, before starting the glittering process, it is important to be ready to gather all the necessary materials. Here are the materials you will need:
- Sandpaper (220-grit)
- Rubbing alcohol
- Painter's tape
- Mod Podge
- Glitter
- Paintbrushes (small and large)
- Sealer spray
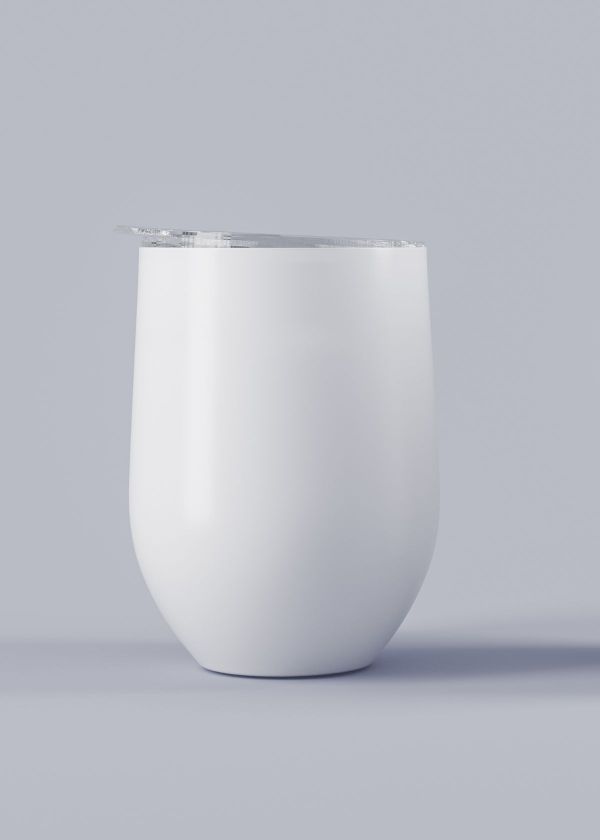
Step 1: Prepare the Tumbler
The first step in glittering a tumbler is to prepare the surface. Use the sandpaper to lightly sand the entire surface of the tumbler. This will help create a rough surface that will allow the Mod Podge to adhere better to the other side of the tumbler. Once you have sanded the entire surface, use a clean cloth to wipe away any dust.
Next, use rubbing alcohol to clean the surface of the tumbler. This will remove any remaining dirt, oil, or fingerprints that could prevent the Mod Podge from adhering. Allow the tumbler to dry completely before moving on to the next step.
Step 2: Tape Off the Design
Once the tumbler is prepared, you can start to create your design using painter's tape. Be creative and tape off designs that you like. This can include stripes, polka dots, or any other pattern you can think of. Press down the tape's edges firmly so that the blue Mod Podge and glitter do not bleed through underneath.
Step 3: Apply Mod Podge
Using a paintbrush, apply a thin layer of Mod Podge over the entire surface of the tumbler cup. Make sure to apply the Mod Podge evenly, using a back-and-forth motion. Try not to apply too much Mod Podge, as this could cause the glitter to clump together.
Step 4: Sprinkle Glitter
With the Mod Podge still wet, sprinkle glitter over the entire surface of the tumbler. Make sure to cover all areas that you want to glitter. You can use one color or mix different colors together to create a unique look. Don't worry if you spill any glitter - you can always collect it and reuse it later.
Step 5: Let it Dry
Allow the tumbler to dry completely before moving on to the next layer. This usually takes about an hour, but it is best to wait longer to ensure the Mod Podge has thoroughly dried. If you are in a hurry, you can use a hairdryer on the low setting or hot side to speed up the drying process.
Step 6: Repeat Until Desired Look is Achieved
Once the first layer is dry, repeat steps three through five until you have achieved the desired look. This tutorial usually requires two to three layers, depending on how thick you want the glitter to be. Make sure to let each layer dry completely before applying the next layer.
Step 7: Remove Painter's Tape
Once you have achieved the desired look, gently remove the painter's tape to reveal your design. Make sure to remove the tape slowly and at a low angle to prevent the Mod Podge from peeling off with the tape.
Step 8: Seal the Tumbler
Finally, seal the glittered tumbler with a sealer spray. This will protect the glitter from rubbing off and ensure that your design lasts long. Follow the instructions on the sealer spray carefully, using it in a well-ventilated area and allowing it to dry completely before using the tumbler.
Ali
Tips and Tricks
- Use a small paintbrush for intricate areas, such as around the rim of the tumbler.
- Catch excess glitter with a piece of paper and save it for later use.
- Experiment with different colors and patterns to create unique designs.
- Be patient between layers, allowing each layer to dry completely before applying the next layer.
How do you make glitter tumblers without epoxy?
Making glitter tumblers without using epoxy is an easy and fun craft project that anyone can do. The process involves adding adhesive vinyl to the outside of the lid of your cup and then sprinkling glitter over it. After you have finished, you will need to seal the glitter with a clear coat of spray paint to give it a glossy finish and help prevent shedding.
First, get some adhesive vinyl in the color or design of your choice and cut it out into the shape you want for your tumbler. You could also choose to use heat transfer vinyl if you desire more complex designs or logos on your tumbler. Apply this vinyl onto the outside of your cup using transfer tape or by hand, depending on what type of adhesive you are using.
Once you have the vinyl applied, it’s time to add the glitter. You can use any color and kind of glitter you would like – make sure it is designed for crafting projects. Sprinkle the glitter over the vinyl and lightly press it down to help it stick. Make sure to cover all areas where the adhesive vinyl was placed.
Finally, seal in your design with a clear coat of spray paint. This will help prevent shedding and give your tumbler a glossy finish. Allow it to dry completely before using or touching your new creation!
Conclusion
Glittering a stainless steel wine glass tumbler is a fun and easy DIY project that allows you to add personality to your drinkware collection or create personalized gifts. By following these simple steps and tips, you can create beautiful and unique glitter tumblers that will last a long time.
You can do a hand wash and cold water to wash it. It is also dishwasher safe. The stemless wine item looks great. So, gather your materials and get started on your first glittering project today! We hope now you know the answer to the question, “how to glitter a stainless steel wine glass tumbler?”