
Making a flashlight from scratch may seem like a daunting task, but with a few simple tools and materials, anyone can create their very own source of light. Whether you're looking to save money on purchasing a flashlight or just want to challenge yourself to make something new, the process of building a flashlight is not only easy but also fun and educational.
To make a flashlight, you'll need a few essential components, such as a battery, a bulb, and a housing to keep everything in place. You can make the housing using materials such as cardboard, PVC pipes, or even an empty soda can. The possibilities are endless, so you can let your creativity flow and make a truly unique and personalized flashlight.
In this guide, we will take you through the steps of making a flashlight, from gathering materials to testing your final product.
Whether you're an experienced DIY enthusiast or a beginner, following these instructions will give you a working flashlight in no time. So, let's get started and shine a light on your next DIY project.
Building a Flashlight from Scratch
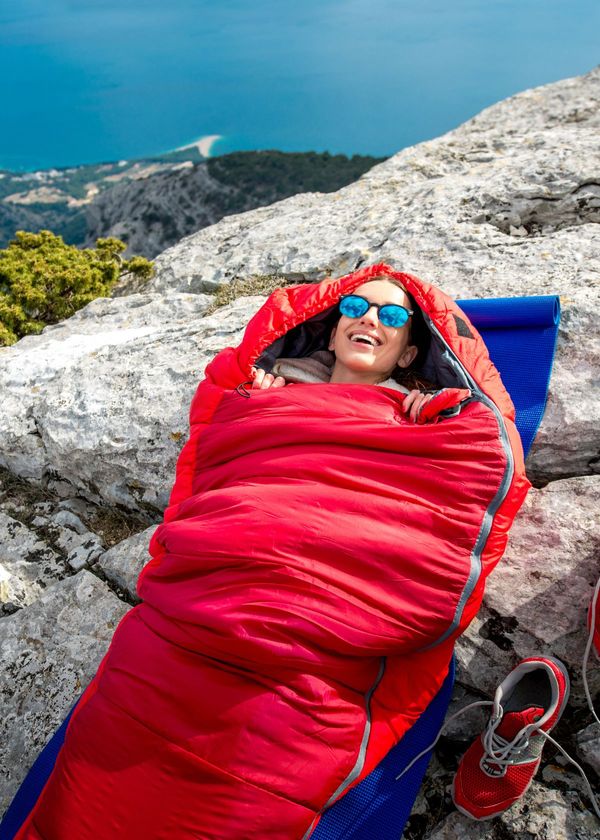
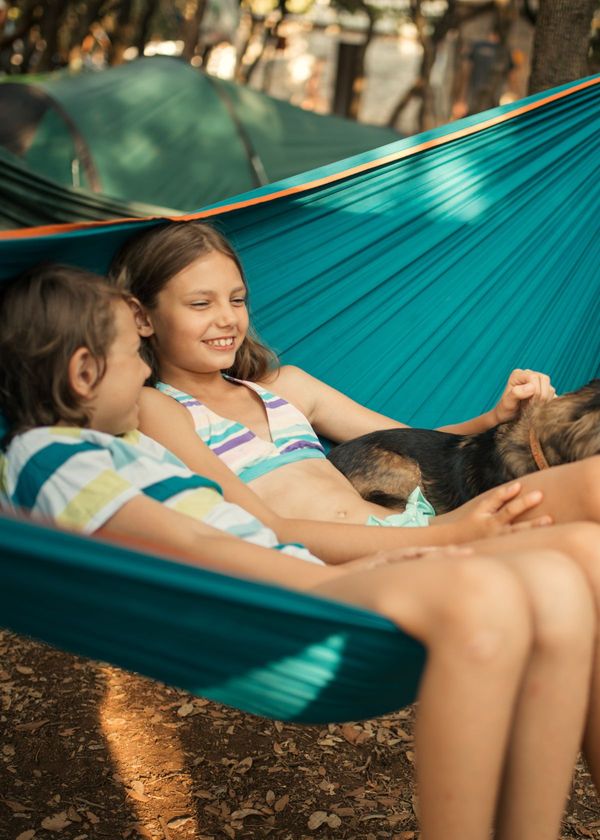
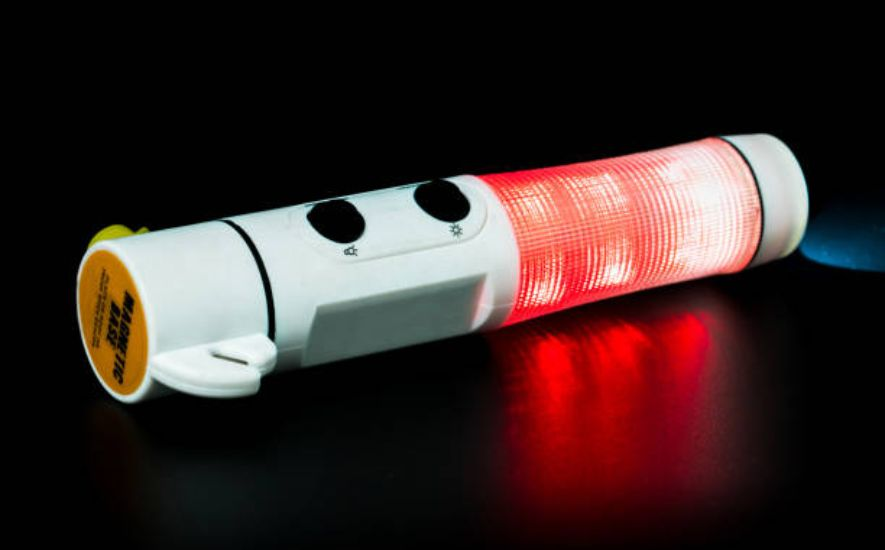
A survival flashlight is a critical tool for any outdoor adventure or emergency situation. It provides light when navigating in the dark, signals for help, and can be used as a weapon if needed. Here's how to craft your own survival flashlight.
Materials:
- Flashlight
- Paracord
- Knife or scissors
- Lighter
Steps:
- Disassemble the flashlight: Remove the battery compartment and bulb from the flashlight.
- Wrap the handle with paracord: Cut a length of paracord to wrap around the handle of the flashlight several times. Tie a knot at each end to secure the paracord in place.
- Reassemble the flashlight: Replace the battery compartment and bulb, making sure they are secure.
- Melt the ends of the paracord: Use a lighter to carefully melt the ends of the paracord to prevent fraying.
- Add a lanyard: Cut a length of paracord and tie it to the handle of the flashlight to create a lanyard.
With these simple steps, you have created a survival flashlight that is not only useful but also easily portable.
The paracord handle provides a secure grip, and the lanyard allows you to keep it close by in case of an emergency. Keep your survival flashlight with you on all outdoor adventures and be prepared for any situation.
 Daniel
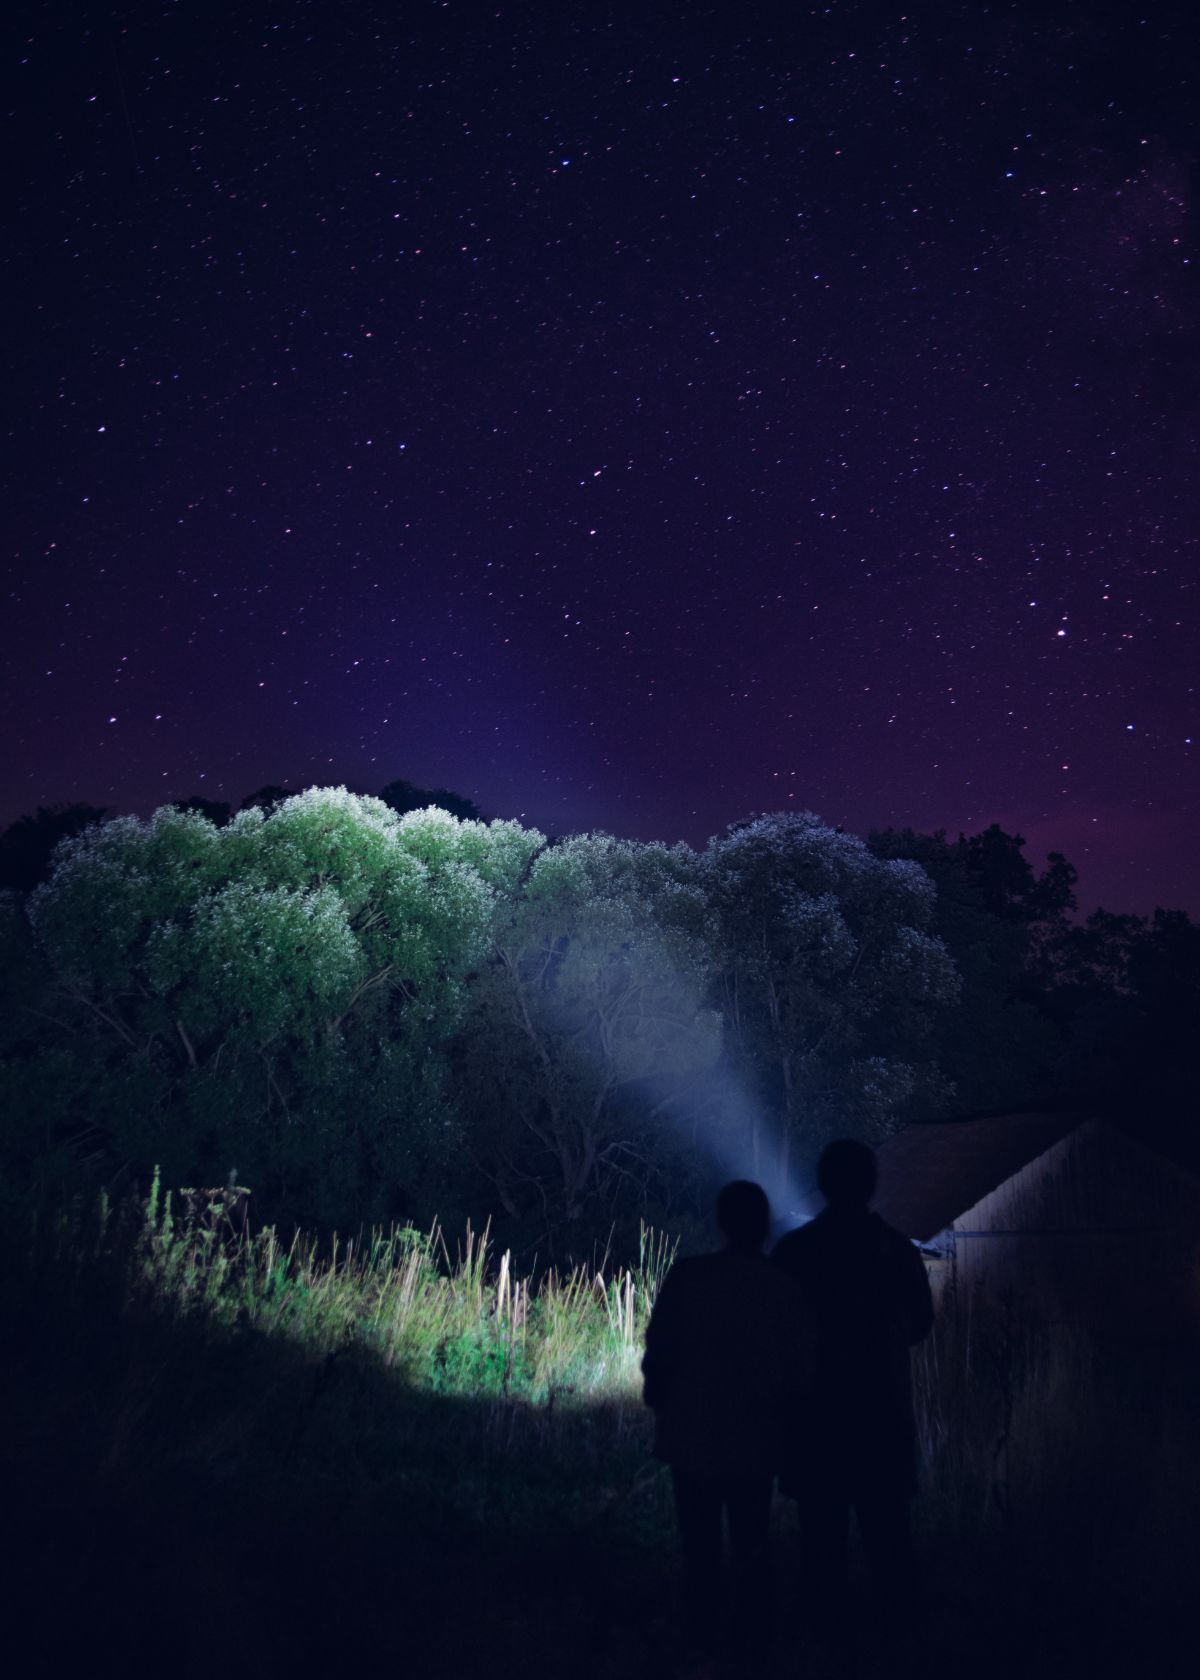
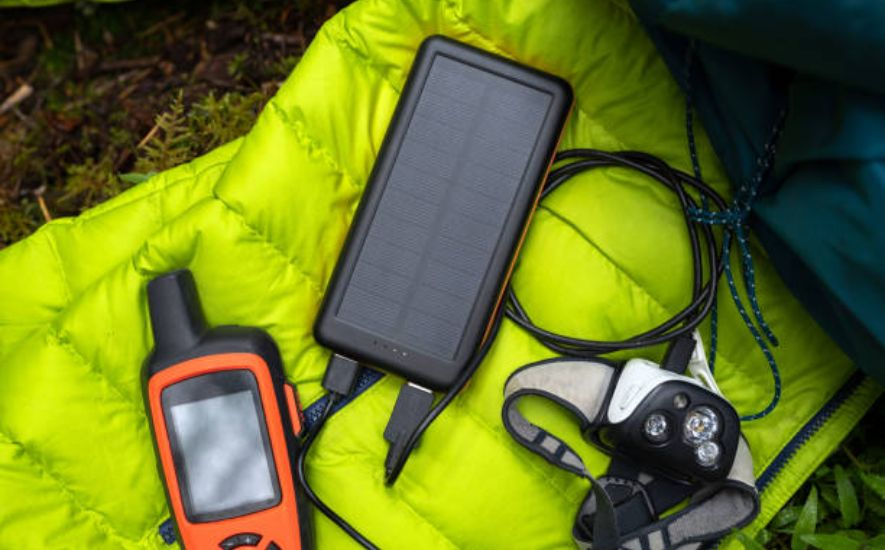
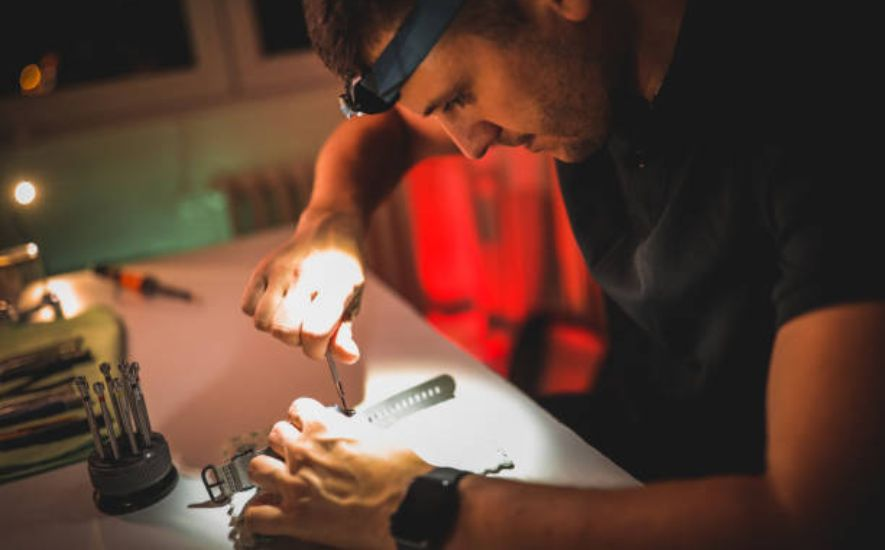
Creating a Rechargeable Flashlight
A flashlight is an essential tool that is used in various applications such as camping, hiking, emergency situations, and many others.
However, traditional flashlights require battery replacements, which can be costly and not environmentally friendly. A rechargeable flashlight is a better alternative, as it can be charged using electricity and used for extended periods.
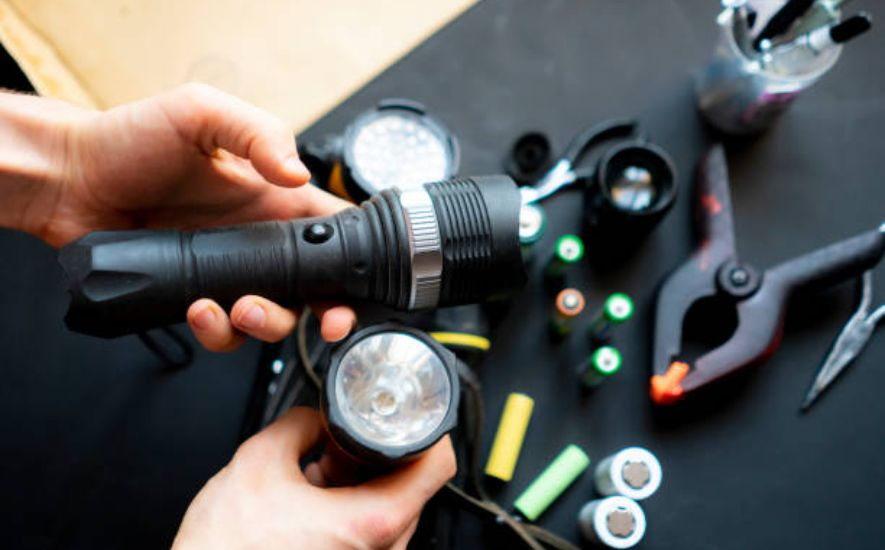
Materials Required:
- Flashlight body
- Rechargeable battery
- Circuit board
- LED lights
- USB cable
- Tools for soldering and assembly
Step 1: Obtaining the Flashlight Body
The flashlight body is the most critical component of the rechargeable flashlight as it provides the structure and holds all other parts in place. A durable, lightweight, and waterproof material is preferred. You can either purchase an empty flashlight body or reuse an existing one.
Step 2: Installing the Rechargeable Battery
The rechargeable battery provides power to the flashlight. It is advisable to use a high-capacity battery to provide longer usage time. The battery should be connected to the circuit board, which will regulate the charging and discharge of the battery.
Step 3: Setting up the Circuit Board
The circuit board is responsible for controlling the LED lights and charging the battery. It should have overcharge and over-discharge protection to extend the battery life. The circuit board should be soldered to the battery and the LED lights.
Step 4: Installing the LED Lights
LED lights are more energy-efficient and last longer than traditional incandescent bulbs. They should be soldered to the circuit board, ensuring proper alignment and connection.
Step 5: Connecting the USB Cable
A USB cable should be connected to the circuit board to provide a charging source. The cable should be long enough to reach a USB port, or a power bank, for convenient charging.
Step 6: Final Assembly
All components should be assembled into the flashlight body, ensuring a secure fit. The flashlight should be tested to confirm that it is working correctly.
Daniel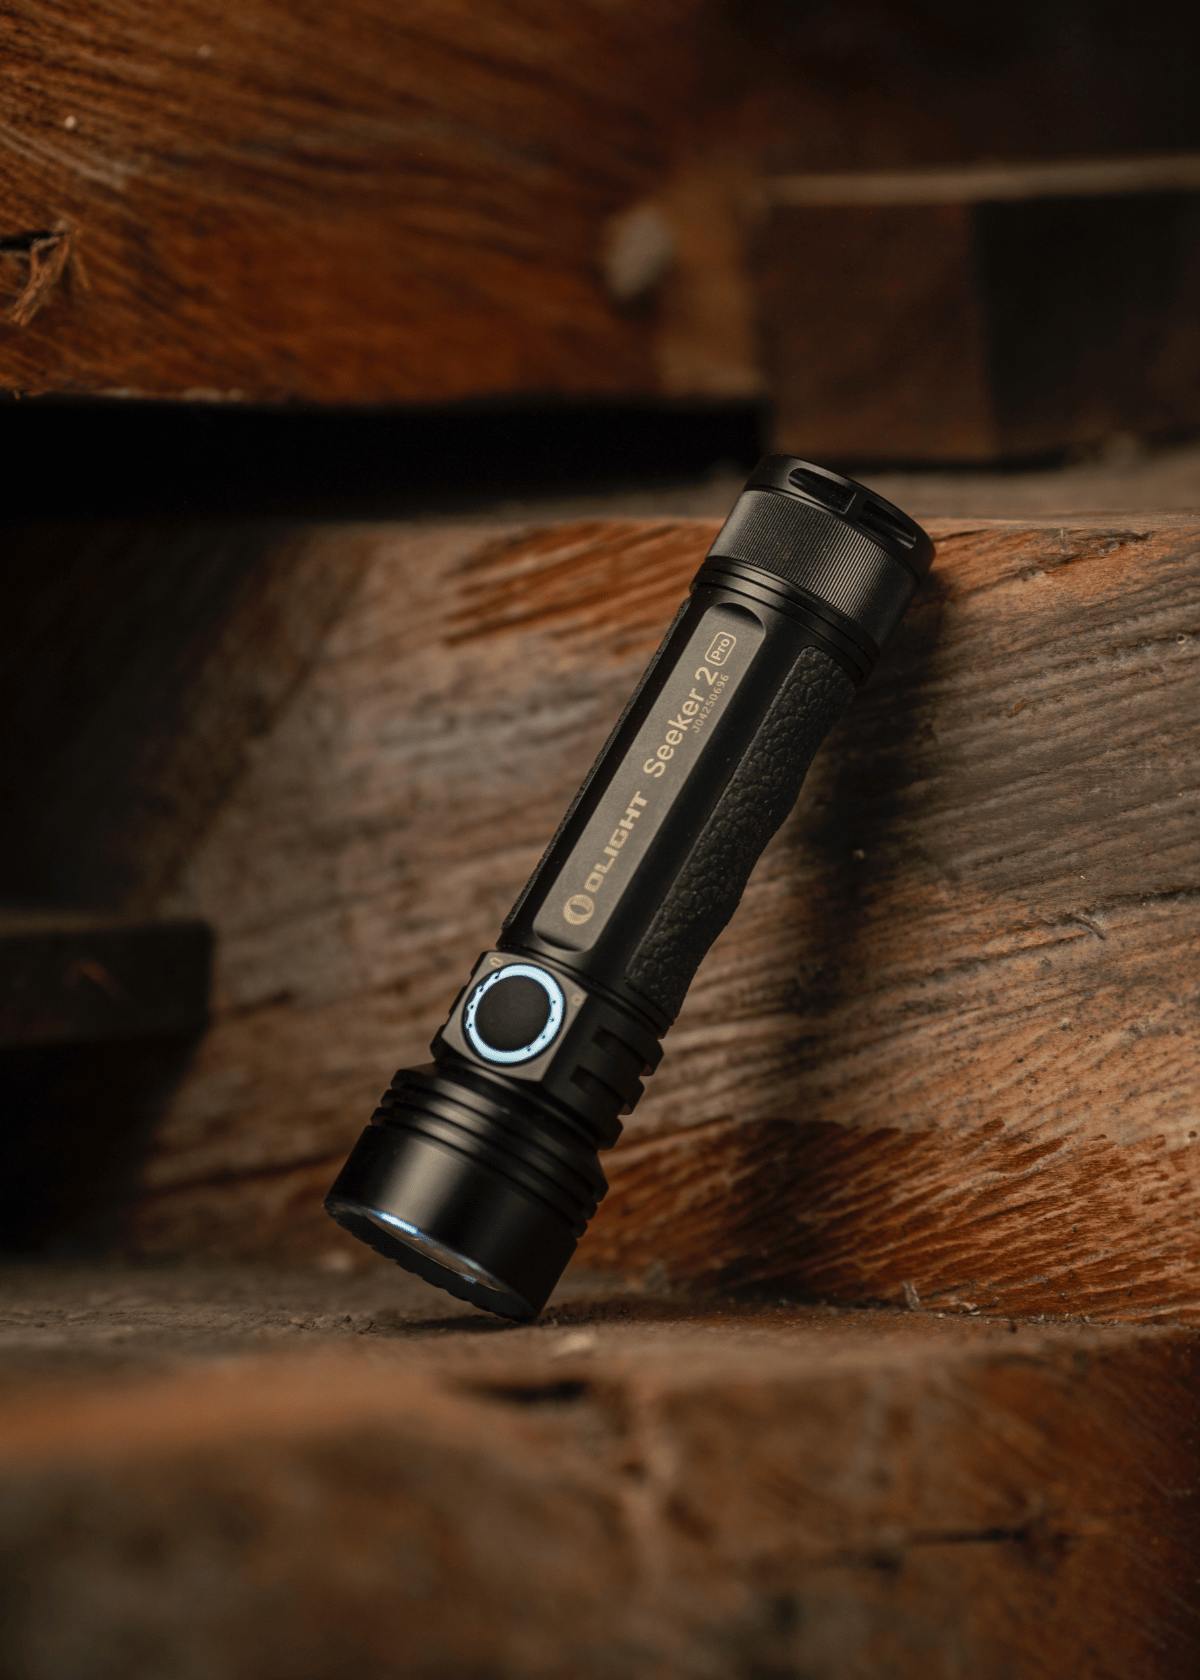
Crafting a Solar-Powered Flashlight
A solar-powered flashlight is an eco-friendly and cost-effective alternative to traditional flashlights that rely on batteries. This project can be a fun and educational activity for those interested in renewable energy and sustainability.
Materials:
- Solar cell panel
- Two batteries
- LED light bulb
- Circuit board
- Switch
- Wires
- Wire strippers
- Soldering iron
- Masking Tape or glue
- Tools (such as pliers, one wire cutter, and a drill)
- Plastic or metal container (to house the components)
Steps:
- Gather materials: Make sure you have all the necessary components before starting the project.
- Build the circuit: Connect the solar panel, battery, LED light bulb, switch, and circuit board together using wires. This can be done using a soldering iron, or by using tape or glue to secure the connections.
- Test the circuit: Make sure the circuit is functioning properly by testing the LED light bulb.
- Create a housing: Drill holes into the plastic or metal container for the solar panel, switch, and LED light bulb. Secure the circuit inside the container using tape or glue.
- Install the switch: Connect the switch to the circuit and install it in the housing.
- Mount the solar panel: Attach the solar panel to the housing, making sure it is facing the sun.
- Test the flashlight: Make sure the flashlight is functioning properly by testing it in sunlight.
You can create a simple and efficient solar-powered flashlight by following these steps. This project will help you understand the basic principles of renewable energy and provide a useful tool for everyday use.
Emma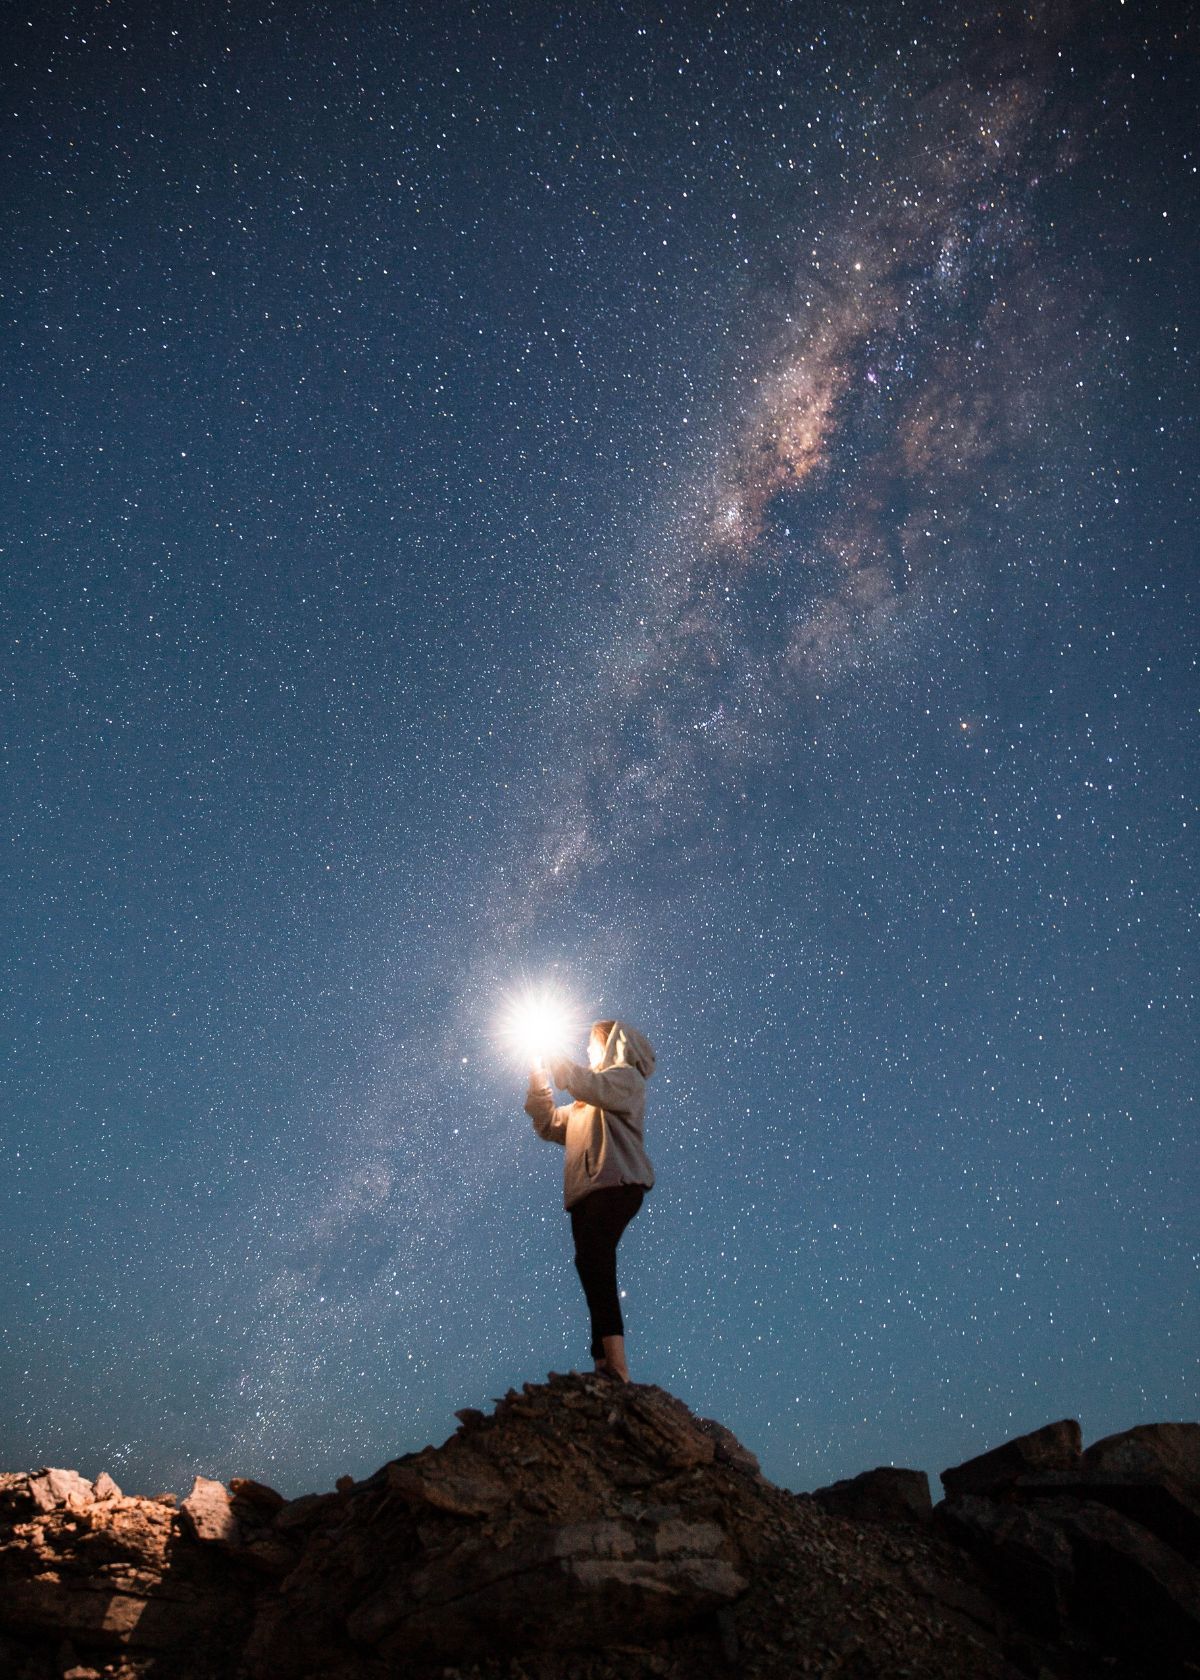
DIY Flashlight using Everyday Items
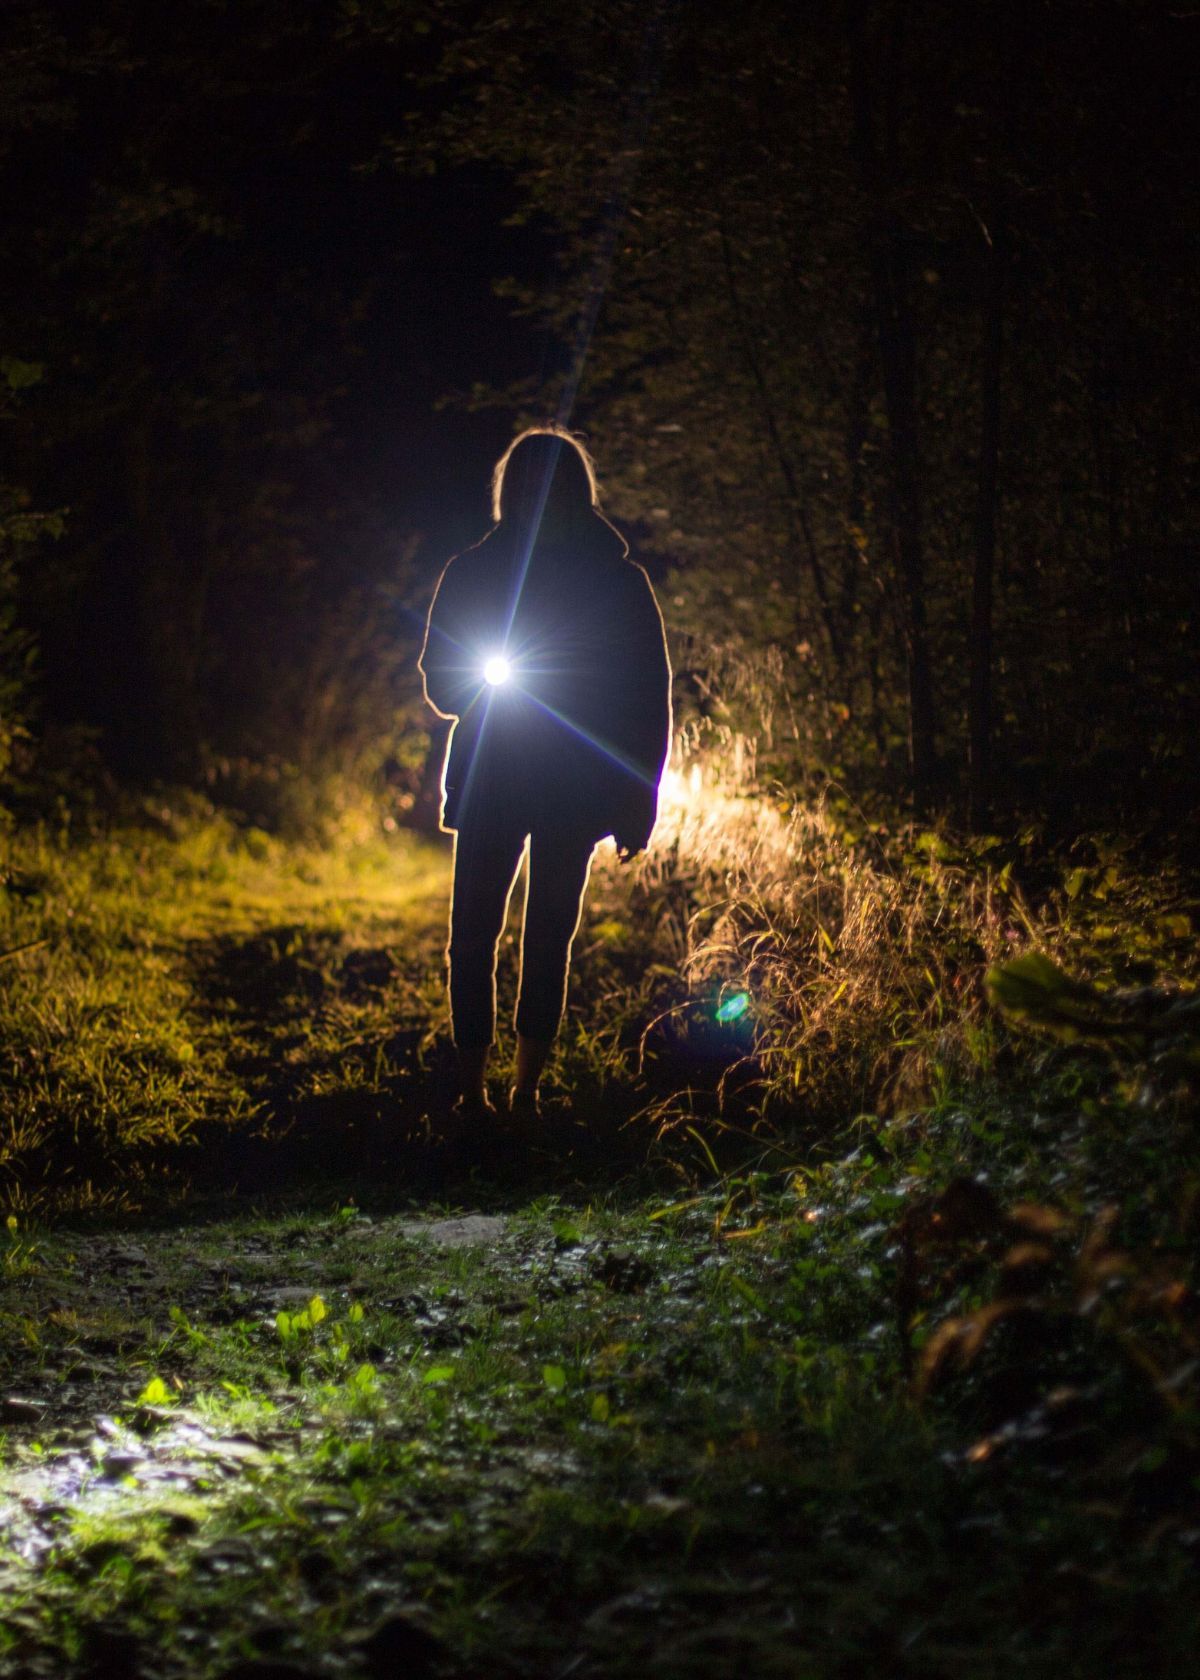
A flashlight is a useful tool to have in emergencies or when you need to navigate in the dark. This guide will show you how to make a flashlight using everyday items you can easily find at home.
Materials:
- An empty cardboard paper cup (toilet paper, paper towels, etc.)
- Aluminum foil
- Duct tape
- A AA battery
- A small LED light
Instructions:
- Wrap aluminum foil around the cardboard paper roll, making sure that it covers both ends of the roll.
- Tape the aluminum foil to the roll using duct tape.
- Attach one end of the LED light to the battery's positive end and the other to the aluminum foil.
- Make sure that the LED light is securely attached to the foil and the battery.
- Test the flashlight by turning it on. If it doesn't work, check the connections and adjust as necessary.
This DIY flashlight is a simple and easy project that can be completed with items found around the house. While it may not be as bright as a store-bought flashlight, it is still a useful tool in a pinch. Try it out and get creative with your materials and design!
Daniel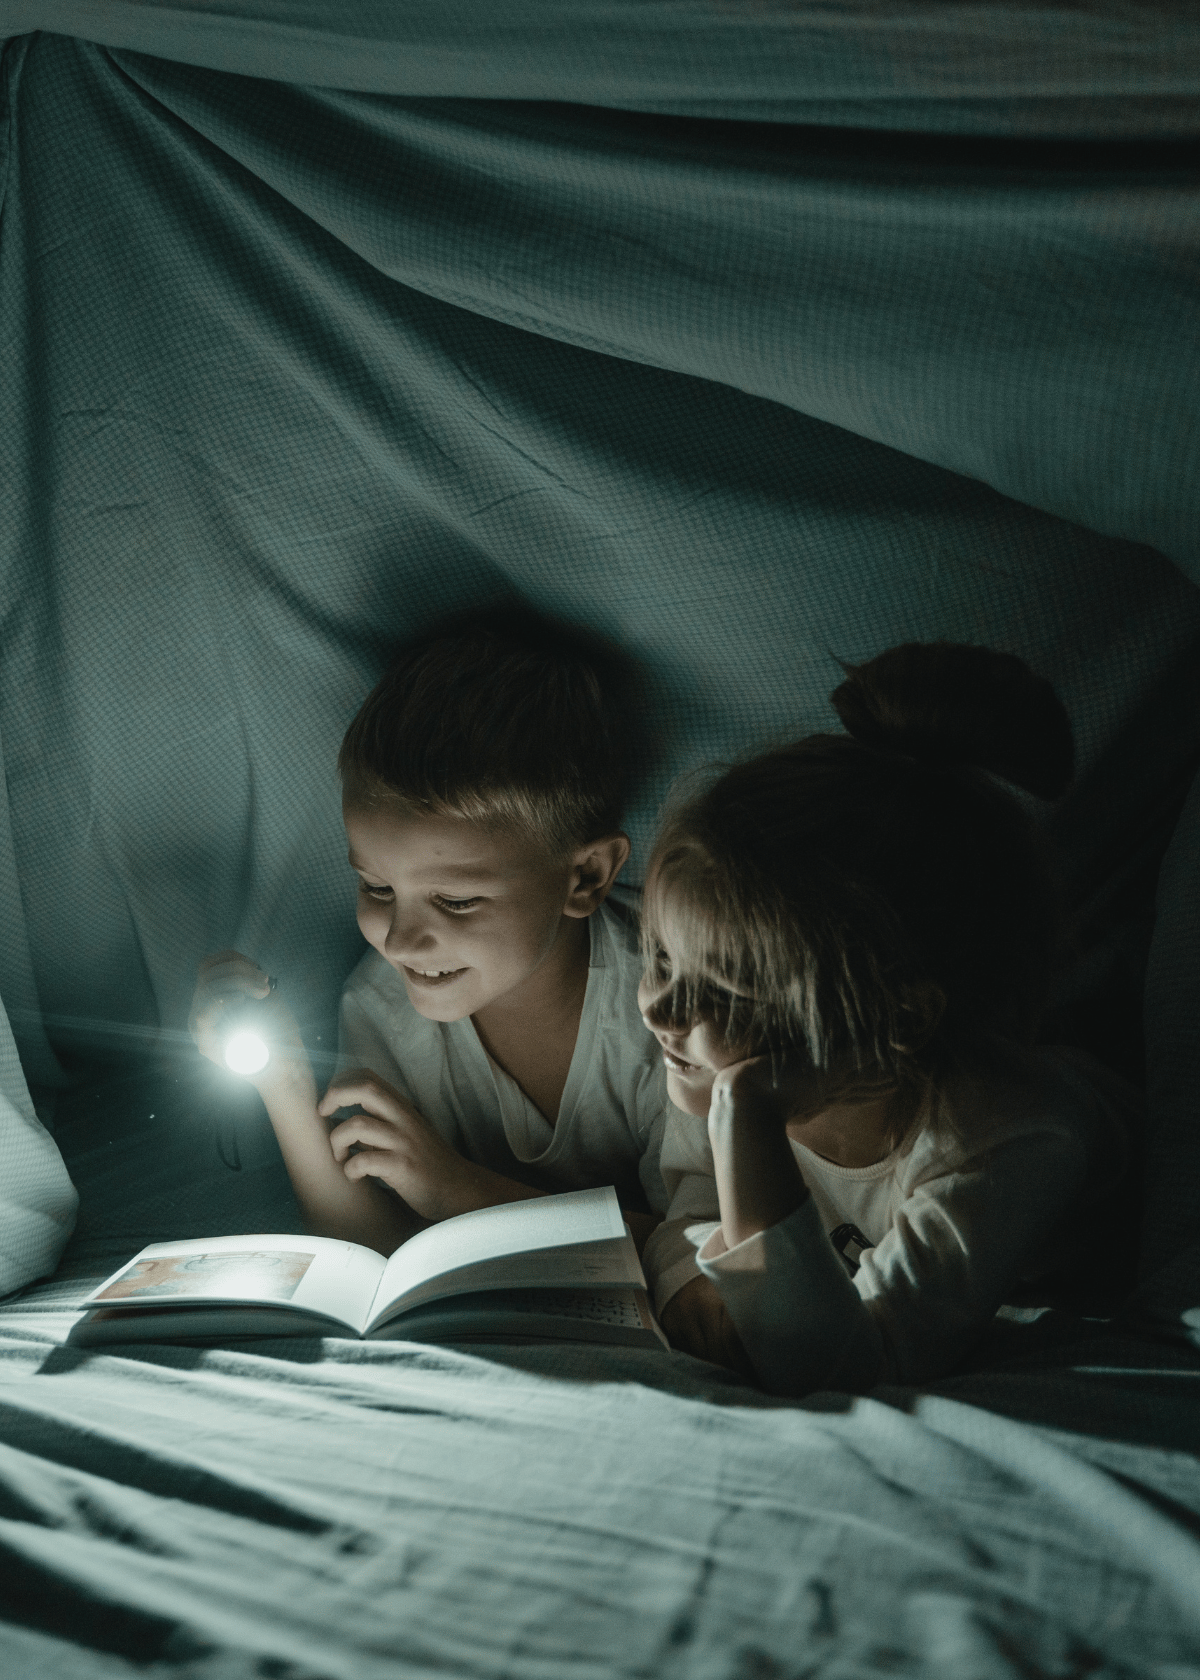
Making a Powerful Flashlight for Outdoors
A flashlight is a portable handheld device used to illuminate dark areas. While there are many flashlights available in the market, it is important to consider various factors such as battery life, brightness, and durability when selecting a flashlight for outdoor activities.
This guide will walk you through the steps to make a powerful flashlight for the outdoors.
Materials:
- LED flashlight bulb
- AA battery holder
- 18650 rechargeable battery
- Switch
- Plastic or aluminum body
- Reflector
- Lens
Steps:
- Selecting the LED bulb: Choose a high-power LED bulb that provides enough brightness for your needs.
- Choosing the battery: Use a rechargeable 18650 battery that provides long battery life and can be recharged easily.
- Assembling the body: Choose a plastic or aluminum body that is durable and can withstand harsh outdoor conditions.
- Installing the switch: Mount the switch on the body in a convenient location.
- Attaching the lens and reflector: Attach the lens and reflector to the body to focus the light and increase brightness.
- Connecting the battery and switch: Connect the battery to the switch and LED bulb to complete the circuit.
- Testing the flashlight: Test the flashlight to make sure it is functioning properly.
By following these steps, you can easily make a powerful flashlight for outdoor activities. With a durable body, long-lasting battery, and bright LED bulb, this flashlight will serve you well in any outdoor situation.
Building a Multipurpose Flashlight
A flashlight is essential for outdoor enthusiasts, campers, hikers, and emergency situations.
A multi-purpose flashlight offers versatility, as it can be used for a range of activities, from illuminating a dark path to signaling for help. This guide will help you build a reliable and functional multipurpose flashlight.
Materials:
- LED light source
- Battery holder
- Switch
- Reflector
- Lens
- Body tube
- O-rings
- Mounting clip
Step 1: Select the LED Light Source:
Choose an LED light source that provides flashlights with brighter and more efficient lighting. Look for a light source with a high lumen output, low power consumption, and long lifespan.
Step 2: Choose the Battery Holder:
Select a battery holder that is compatible with the LED light source and can hold the necessary number of batteries. Ensure that the holder can be easily opened and closed to change the batteries.
Step 3: Install the Switch:
Install the switch in the body tube of the flashlight. The switch should be easily accessible and should allow the light to be turned on and off without much effort.
Step 4: Attach the Reflector:
The reflector is an important component that helps to direct the light where it is needed. Attach the reflector to the body tube, ensuring that it is secure and in the correct position.
Step 5: Attach the Lens:
Attach the lens to the front of the flashlight, making sure that it is securely fastened. The lens helps to protect the LED light source and can also be used to focus the light.
Step 6: Assemble the Body Tube:
Assemble the body tube by attaching the battery holder, LED light source, switch, reflector, and lens in the correct order. Make sure that all components are securely fastened.
Step 7: Install O-Rings:
Install O-rings at the joints of the flashlight to prevent moisture, dust, and debris from entering. O-rings also help to maintain the pressure balance inside the flashlight.
Step 8: Attach the Mounting Clip:
Attach the mounting paper clip to the body tube to allow the flashlight to be easily carried and attached to a belt or backpack.
How to Make a Flashlight FAQs
How many times have you lost your flashlight and had to use the light on your phone or laptop? It's frustrating, but there is a solution. Making your own flashlight is easy, and all you need is some basic tools and materials. You can make one in just minutes!
Here are the answers to some of our most frequently asked questions about making flashlights.
How can I make a simple flashlight at home?
To make a simple flashlight at home, you'll need the following materials:
- A battery (such as AA, AAA, or 9V)
- A light-emitting diode (LED)
- A switch
- Some electrical wires
- A cardboard tube or an empty tin can
- Aluminium foil
- Electrical Tape or glue
Here's how to put it together:
- Cut a piece of aluminium foil to fit the inside bottom of your cardboard tube or tin can.
- Attach the LED to one end of a wire, and attach the other end of the wire to the positive (longer) end of the battery.
- Repeat step 2 for a second wire, but attach it to the negative side (shorter) end of the battery.
- Attach one end of the switch to the positive end of the battery and the other end of the switch to the positive wire connected to the LED.
- Attach the aluminium foil to the negative end of the battery.
- Place the battery, LED, and switch inside the cardboard tube or tin can, securing them in place with more tape or glue if necessary.
- Turn on the switch to test your flashlight.
What materials do you need to make a flashlight?
To make a simple flashlight, you will need:
- A battery or batteries
- A bulb (LED or incandescent bulb)
- A switch
- A casing or housing to hold all the components together
- Electrical wires or conductors to connect the battery, bulb, and switch
- Optional: a reflector or lens to focus the light in a specific direction.
Note: The exact materials and components you need may vary based on the design and complexity of the flashlight you want to make.
How does a DIY flashlight work?
A DIY flashlight works by using a power source, such as two d batteries, to provide electrical energy to a light source, such as an LED (Light Emitting Diode). When the LED is connected to the power source, it lights up, producing light.
To make a DIY flashlight, you need to connect a power source, a switch, and an LED in a circuit to control the flow of electrical current and turn the light on and off as needed.
Conclusion
In conclusion, making a flashlight is a fun and practical DIY project that requires only a few materials and basic tools. By following the steps outlined in this guide, you can make a reliable flashlight that can be used for a variety of purposes.
Whether you need it for camping trips, power outages, or as a backup light source, the flashlight you build will be customized to your needs. The best part is that by making your own flashlight, you not only save money but you also gain the satisfaction of knowing you made it yourself.
So, gather your materials, follow these simple instructions, and start creating your own flashlight today. Who knows, you may discover a new hobby in the process!¨